How to edit an image with Gimp to publish on instagram for beginners
When it comes to post on instagram, there are great tools out there, but if you want to have more posibilities and control over your edits, GIMP is the perfect tool to start with, and it's free and open source.
I want the perfect Instagram post
In this article you will learn how to use GIMP for editing a photo to post on Instagram and other social media platforms. If you want another option to use than the in-app editor or other quick editors like Tik-Tok... GIMP is going to give you more control over the look of your photo and a lot more options, it might feel daunting at the beginning, but I will help you with just a few quick options that I use and you will get used to the user interface in no time. Your pictures will get all the likes, let's begin.
Step 1. Select your picture(s)
Sometimes the less is better, you have over 30 pictures from your day trip to the beach, you could select a few and create a post, put some on your stories, create a reel... Or you could select just one or three and create a simple post. You are going after likes, so probably storing it on your feed is a good idea, go over all those photos and select only 1 or a few, then get ready to edit them.
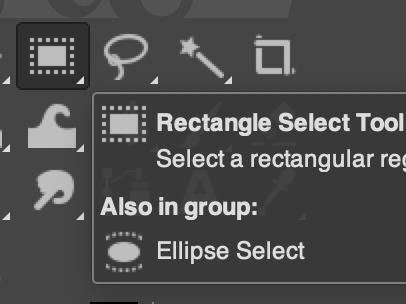
Step 2. Crop it
After opening a picture with GIMP the first thing that I do is crop it, sometimes the building that I see is symetrical but in the picture there is more space to the right than to the left, just use the crop rectangle functionality on the top left and try and select the building, don't worry about the proportions for now instagram will display it as it likes. Then click on Image -> Crop to selection, and boom, you have your image.
When doing this zoom in as much as you like, be aware of people on the sides of the picture, other buildings in the background that you don't like, rubbish on the floor...
Step 3. Adjust the brigthness
The second thing that I like to do is to adjust the brightness, click on Colors -> Exposure... here you can adjust the black level and the exposure giving it a darker darks and lighter lights.
Then click on Colors -> Brightness-contrast... I personally like to increase both a little, it looks so much more professional.
You then can adjust the Shadows/Highlights acordingly, if you want to show a dark part in the background, increase the shadows, but don't overdo it as it looks bad.
Step 4. Increase the saturation
We want this on instagram, some people have small screens, some feeds are oversaturated, some just scroll very fast down, you want your picture to stand out on every screen, bring up those reds, yellows, blues...
Click on Colors -> Saturation... and move it up a bit, remember to not overdo it, you can also increase it a bit when you post the picture but I find the GIMP utility much better. Don't worry about anything else on this menu. Color -> Hue-saturation... is to increase only one color in particular if you want.
Step 5. Export it
Click on File -> Export as... I like to use .png for size (I can compress it on tinypng.com) but maybe you want a .jpg for quality, remember This is not a destructive action you will still have the original image. Now you can use the apple cloud or gdrive to open it on your phone (uploading it on desktop wasn't useful for me).
Step 5. Edit on Instagram
Publish it as a post, remeber to click on the expand/contract icon on the bottom left of the preview to keep the original ratio (landscape/portrait) or to keep it more square by not clicking it.
Next we are going to manually edit it, DO NOT select any filter, click on edit at the bottom right, you can use the magic editor tool at the top if you like, works pretty well. I like to increase the structure, and sharpen it, but be aware of faces (pimples and wrinkles don't like that) increase the saturation if you want.
Done
And there you go, you have an improved version of your picture online, let me know if you like it more and if it was easy enough to understand.
Other tools and resources
Gimp official tutorials are always a good read
Gimp for beginners is a good video to learn.
I like to use the sepia tool in Gimp, click on Colors -> Desaturate -> Sepia.../Color to grey... these are good options to create a sepia image.